Doorbell Installation Services for Property Owners
This page explains how local service providers can assist with doorbell installation and helps property owners compare options.
- - Residential homeowners seeking to enhance curb appeal with a new doorbell installation.
- - Property managers or landlords upgrading security features across multiple rental units.
- - Business owners installing or replacing doorbells to improve customer access and building security.
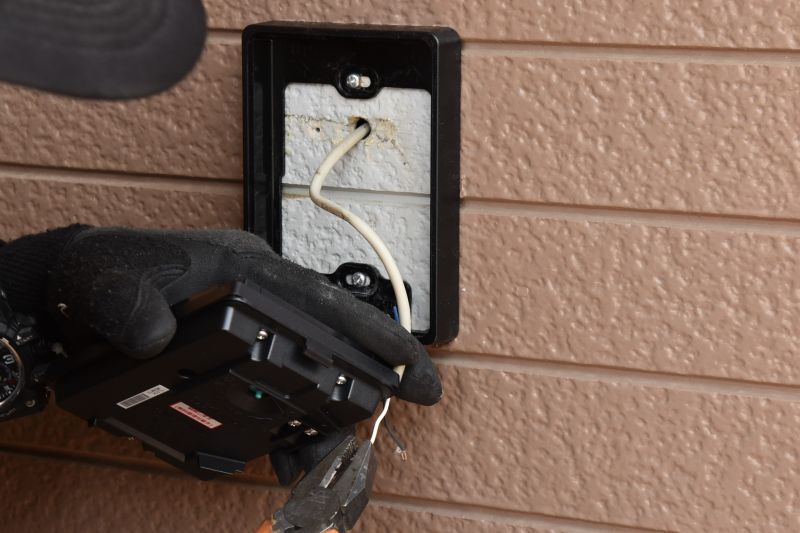
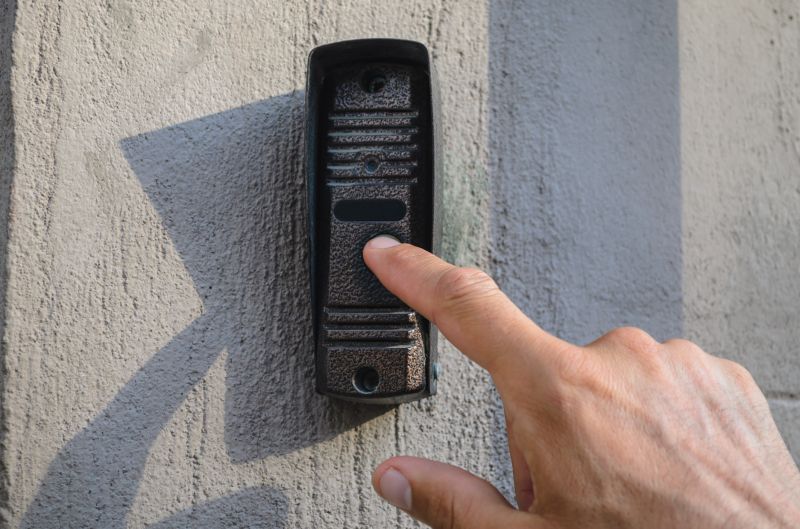
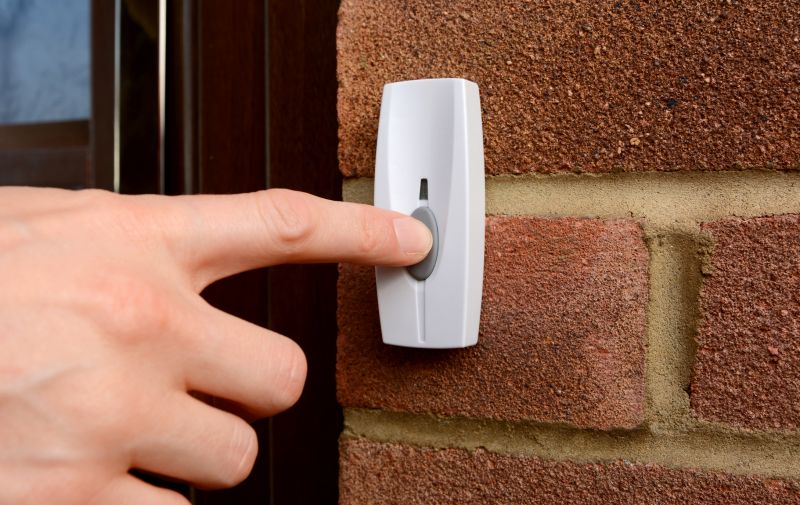
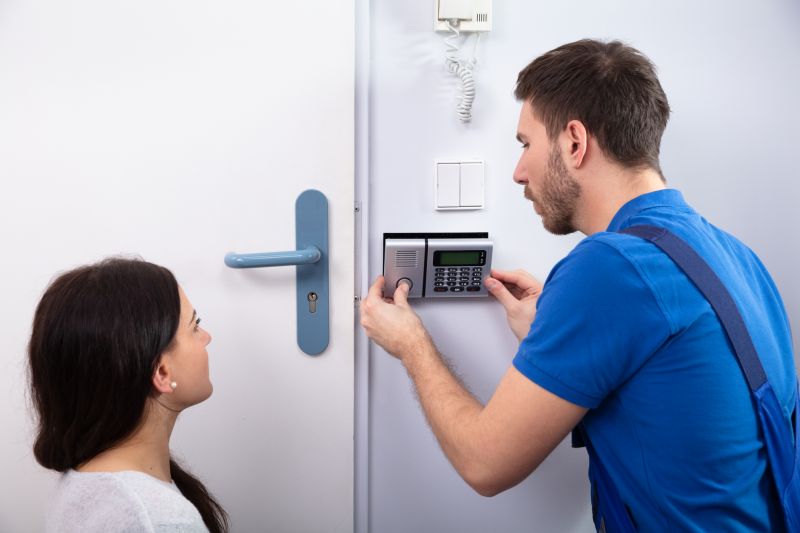
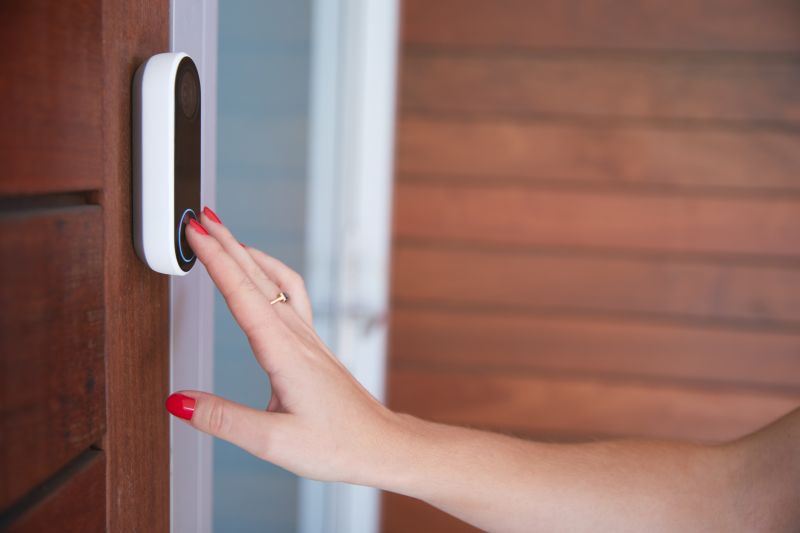
Doorbell installation services involve setting up or upgrading doorbells to enhance home security and convenience. Property owners often seek help from local contractors who specialize in this work, especially when installing new systems, replacing outdated units, or troubleshooting existing setups. These professionals handle tasks such as wiring, mounting, and ensuring the doorbell functions correctly, providing a practical solution for those looking to improve their home's entryway.
Local service providers in this category are experienced in managing various doorbell installation needs, whether for residential or small commercial properties. They typically work with a range of doorbell types, including wired, wireless, or smart systems. Property owners can expect to find local pros who understand the common challenges involved, such as compatibility issues or wiring concerns, and who can help ensure the installation is completed properly and efficiently.
This guide provides helpful information to understand the key aspects of doorbell installation projects. It assists in comparing local service providers and understanding what to consider before hiring a contractor. The goal is to help visitors gather the basics needed to connect with qualified local contractors for their doorbell installation needs.